Saturday 23 February 2013

Progress and getting seeds from the birdseyes

This is a multi-purpose update for you today.

First of all, some progress:

I have now got two Ghost Chilli seedlings!! How awesome is that! The second one appeared a couple of days ago and has done the usual of bursting upwards and then pausing slightly.

There is still only one Geranium seedling, however this one is growing really really well, with second growth showing now. From my experience last year, now we have second growth this will probably start shooting up again once the second leaves open up.

So, that is the brief update. The other plants are doing well still, just there was nothing specific to update you all on.

Secondly for this update I have been given a couple of dried chillis by a mate and today I got round to harvesting the seeds.

The two Birsdeye chillis that I was given, expertly dried (I shall have to find out how this was done; Jon if you would care to comment on this post with your tips?)

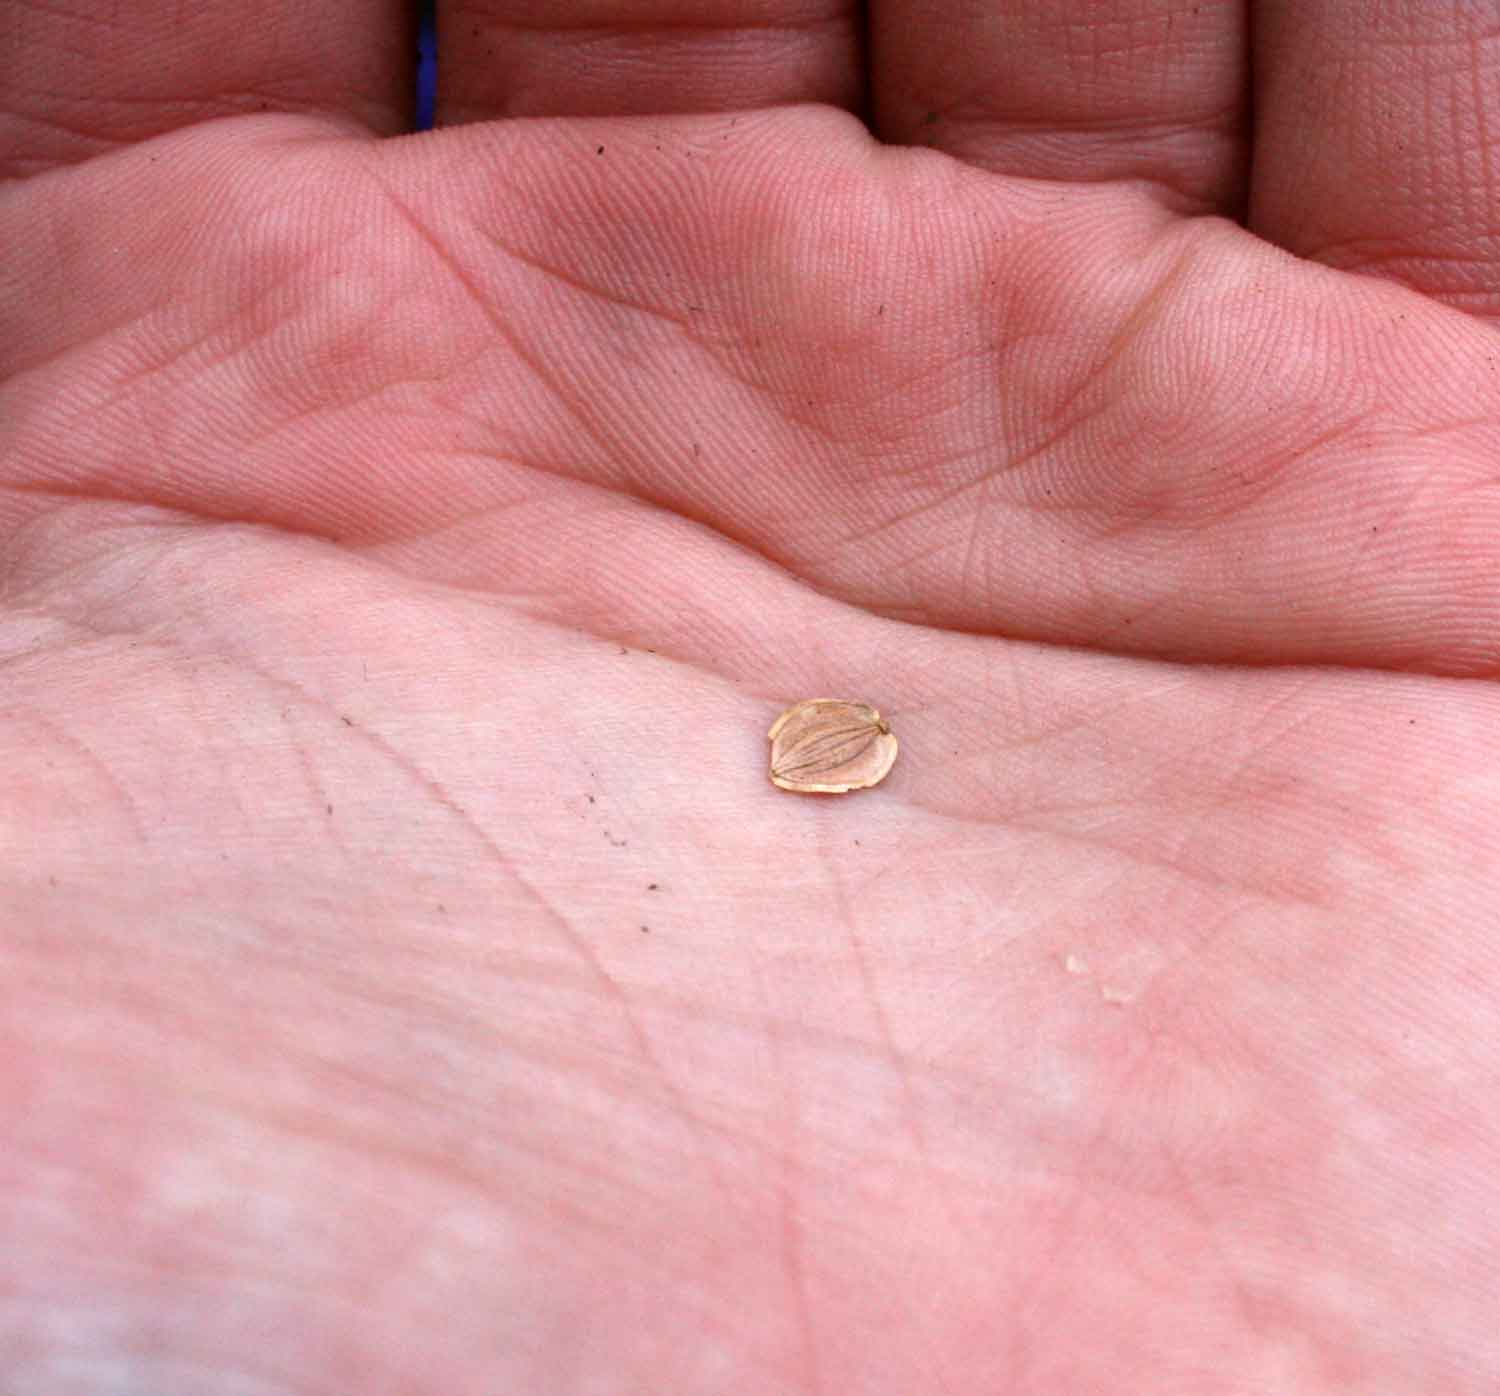
I broke apart the chilli using the sharp tip of the Stanley knife and the seeds literally burst out.

This now nicely segues into the final section of this post; the TicTac tip. This is all the seeds I got from the Birdseye chilis and I am storing them in empty tic tac boxes.

I have also transferred the remaining Crossley Special seeds into a tic tac box.

Finally four seeds which I am very excited about; the Kerela seeds. I eat a LOT of "rice and three" curries and my favourite curry house does a dish called "Keema and Bitter" which is the best of the lot; the Kerela vegetable is that which gives this meal it's amazing bitter kick and I am going to be trying to grow this. I am waiting until I have moved some of the seedlings out of the heated propagator so I can put these in.

Anyway, that's the update. Thanks for reading.


Self watering planters and planting tomatoes

Regular readers of this blog will remember a post a few weeks ago where I highlighted a fantastic idea from another blogger about making Self Watering Planters.

http://skruben.blogspot.co.uk/2012/03/how-to-self-watering-seed-starter-pots.html

That is the link to the other blog.

Anyway, I have been saving two litre bottles for a couple of weeks and finally got the chance today to give it a go.

The first thing to say is, while I had collected enough bottles when I sat down to start making these I found I did not have any suitable wicking thread. Suffice to say now my work Doc Maertins now have no laces in them. Ooops.

Anyway, let's get to the pictures of my attempt at Self Watering Planters

My little collection of empty two litre bottles ready for preparation. First thing I did was take the labels off.

Just about to cut the first bottle in half. Actually, if you pay attention, though, this picture and one other was taken when I was preparing the second bottle. The clue is in the colour of the lid.

The cut in half bottle set out how it will eventually be when it is put together. I used the stanley knife for cutting the bottles in half, though this did prove a little difficult to cut in a straight line.

The next instruction was to use a phillips screwdriver to hammer a hole through the lid. This was very easy to do but did highlight a large difference between suppliers; the yellow lid is far better made than the blue.

A lid with a hole hammered into it.

Another little tip; I found that the hole from the screwdriver was not large enough when trying to thread the wick through the hole. I ended up using the stanley knife to make the hole larger and allow my thick shoe lace through.

The wick is made from shoe lace, about 18" long, folded in half and then a loop knotted into it about a third of the way from the folded end.

The two loose tails are threaded through the bottle top so that the knot is inside the lid and the loop will protrude into the bottle when it is put back on.

The bottle top is screwed back on and then the bottles are arranged thus, leaving the wick dangling into the water reservoir and the loop protruding up into where the soil will be.

A single Gardeners Delight tomato seed set on the palm of my hands before planting.

The Self Watering Planter filled with compost and with a Gardeners Delight seed planted.

I then watered the compost fully, and filled the reservoir with water so the tail is fully into the water.

Two Moneymaker tomato seeds in the palm of my hands.

The two planters which contain Moneymaker seeds set on the windowsill.

A word of warning (and a potential "ooops" moment for me). If you look closely at that last photograph you will see the compost on the right looks very wet; that is because it is SODDEN as I slipped slightly and poured WAY too much water into it. I am hoping that it will dry out and the seed will still germinate. Fingers crossed.

So there you are, my attempt at the Self Water Planters. I will of course keep you all updated on any and all progress with these. Please do try this yourself and give me any results that you get.

A final tip from a mate; he suggests that you paint the reservoir green as this will prevent algae from growing in the water; I am going to test this out on two of my efforts to see what difference it makes but I do not have any green paint for plastic at the moment.

Anyway, enjoy your weekend and keep growing!

Wednesday 20 February 2013

Just Chillis

The blog post today is going to be quite short, but really very excited.

This morning I went round before work and took photographs of the chilli seedlings in the heated propagator, and there is some awesome progress to report.

Here come the pictures:

This is the first Ghost Chilli seedling to pop through. First sight of this seedling was only a couple of days ago and it is amazing to me just how quickly the plant grows in the first few days.

Crossley Special chillis in tray one, the slightly limp looking one at the back is the last seedling to show. Yes, I now have six from six of the Crossley Specials up and as seedlings.

Tray two of the Crossley Specials. The large happy looking plant at the front is the first seedling to show and it is looking very strong indeed.

The third tray of Crossley Special Chillis.

I think I will leave it another week or two before I transfer these seedlings into their intermediate size pots. This is an issue, though, because I am out of space in my heated propagator and I have just taken delivery of some Birdseye chilli seeds and a small number of Kerela seeds from a friend at work and both of these seeds will need the extra heat provided by the propagator.

I can sense another shopping trip coming on.

Whoops :)

Anyway, keep growing. Catch you soon.


Monday 18 February 2013

Progress including Foxgloves and Chillis with pictures taken over two days

Today I have a double update for you. On Saturday (16th Jan) I went round and took a load of update pictures of all the seedlings and plants for an update which I planned to do on the Sunday.

But then I got distracted and busy and didn't do the update.

So, this morning I went round and took some MORE progress pictures because so much exciting progress had happened.

So without any further ado first off the progress report from Saturday 16th January....

The Geranium seedling; the first of the seedlings to show in the heated propagator.

Tiny foxglove seedlings poking through the soil.

A pioneering Crossley Special Chilli breaking through into the sunlight.

Onion seedlings, still not dead despite all the weather and (probably stupid on my part) decisions made over the winter; now I just hope they start to thrive and I get a good crop.

Broccoli still alive as well and thriving the best of all the early outdoor plantings.

Lettuce seedlings still struggling along and doing their best to not die in the cold weather.

Shop bought chives still underneath the cloche and surviving much better now it's in its larger pot and has space to spread its roots.

Shop bought coriander still looking slightly floppy but much better than if I hadn't potted it out; I am confident now that this will thrive.

The whole mint plant, showing how they put out spreading shoots to try and root in the soil next to the main stem.

The Citrus Tree. It is amazing how much this has grown, with the new growth clearly visible. Over the winter this has put on at least 6 inches of new growth. Outstanding effort.

The seed grown coriander still looks very sad and droopy but I feel it is happier than it was. Fingers crossed this will establish itself within the new compost and grow into plants which I can give away.

The healthiest of the seed grown coriander plants. This really does look like it has steadied itself and will be able to grow and become fruitful.

So there you have it; the update from Saturday.

Now are pictures taken this morning and the progress, particularly of the Chilli plants, is amazing.


Another Crossley Special Chilli showing itself to the world. This has probably only been above the earth for a couple of hours tops.

The Crossley Special Chilli which I showed you earlier in this update take two days later; can you believe how fast seedlings grow!

Another Crossley Special getting its head about the compost.

In all I have five out of the six Crossley Special Chilli seeds now above the compost and showing green. This is outstanding! Sadly there is nothing yet from the Ghost Chillis but I am patient.

A couple of days and the foxgloves have also had a growth spurt. This, to me, is one of my favourite times for growing things - the excitement of waiting for the plants to appear and then the speed at which they grow is just outstanding!

So, that is everything I have to show you today. I find it so inspiring to watch the progress and share it with you.

I hope you are all growing and seeing good progress with your plants.

Cheers.

Saturday 16 February 2013

Planting carrots and parsnips in toilet rolls

Over the Christmas holidays my uncle gave me a tip. He said that, if you want to grow straight carrots and parsnips easily then take toilet rolls and fill each with compost and plant one seed per toilet roll.

I have been waiting for the opportunity to try this out and today I finally got the chance.

I have spent the last 4 weeks collecting toilet rolls, both at home and at my business, and also at my place of work. I have collected a lot of toilet rolls!

I also have bought a couple of plastic boxes to use as the trays.

The two trays with toilet rolls assigned, on the left for parsnips, and carrots on the right.

My first attempt to fill a toilet roll with compost. Unfortunately as soon as I picked it up the soil fell out the bottom; this is something that would obviously happen and I was just stupid to not consider that.

The first toilet roll filled with compost. I ended up filling it up individually by hand.

All the toilet rolls filled with compost and ready for planting.

This is a single parsnip seed. I had forgotten just how light and floaty and unusual they were.

The parsnip seed placed carefully in the toilet roll and ready to be pushed a couple of mm under the soil.

Carrot seeds on the palm of my hand; these ones are very tiny.

The carrot seed placed into a toilet roll full of compost and ready to be pushed under the soil.

Once each seed was planted and pushed under the soil I pulled the trays inside and placed them near a radiator (but not too near as that would cause them to get too hot) so they can be warm enough to germinate.

I then covered the bottom of the trays with water, which will be drawn up through the compost as the compost dries out, meaning the seed has a better likelihood of germinating too.

So there you have it. My Uncle's tip for growing carrots and parsnips in toilet rolls.

I have two other things to update you on. First of all, I noticed what looks like bluebells starting to come through in the back garden.

I think these are bluebells? There are three or four clumps and I can't wait til the flowers open!

Secondly, while today I have cooked some rabbit stew which I am about to eat shortly, a new addition to our household has arrived:

This is Sassy. She is a 9 week old rabbit. Very very cute!

Anyway, I have another update for you for tomorrow, showing progress on all the other plants.

Cheers