Showing posts with label lessons learned. Show all posts

Monday, 24 June 2013

Earthing up Potatoes plus flowers and outside progress

As mentioned in my last blog post the Potatoes have grown really well and had actually started falling over out of the bags...

I have today got round to filling the remainder of each bag up with compost and standing them up a bit prouder:

The falling down Potatoes. One thing I really do wish I had done is make the wooden Potato planter idea which I have linked to elsewhere and, when I get a chance, will look up the link and put it here. They have grown so well it would have been nice to have been able to care for them a little more as these little bags really are NOT big enough at all.

This is one of the Potato plants (not sure which variety) which has been lifted and supported better by the addition of more soil around it. Hopefully this will also fill with Potatoes.

Whilst I was outside I took a few progress pictures; this is the Foxglove which is looking like at least one of the plants has survived; it will not grow fast enough for me to see a result however I think I have learned a bit and will be planting many of these in my next garden.

This is the bed with the Coriander in it, with the shop bought one clear at the front, and the stringy seed grown plants looking wind blown, but if you look closely showing signs of green returning to them. I am confident these will now take and provide herbs next year.

This slightly blurry picture is the Chives which have definitely taken and will now probably go mad like the ones before at my old garden.

Finally for this brief update I have got flowers on my Begonias which are on my bedroom windowsill right next to my head as I sleep so I am now getting some nice whiffs off them (which makes a difference, in my bedroom I can tell you...)

This Begonia just has one flower on it but it is very pretty indeed.

This one is slightly larger and is covered in flowers. I hope that these will live for more than one year; it would be nice to have these every year.

Anyway, that's me for today.

Keep growing, keep reading

Monday, 11 March 2013

Planting Begonia tubers

At the weekend another part of my huge seed/tuber order arrived so Sunday morning I decided to plant them out. The packet said "plant immediately" which put a bit of fear in my mind as to what would happen if I didn't.

I am not sure if, post growth, I will be able to re-harvest the tubers and take them with me to my full time homesteading destination (any advice welcome) but hey, if they will die if I don't plant them now I'm not going to put them in my seed-bank to take with me because that would just be a waste.

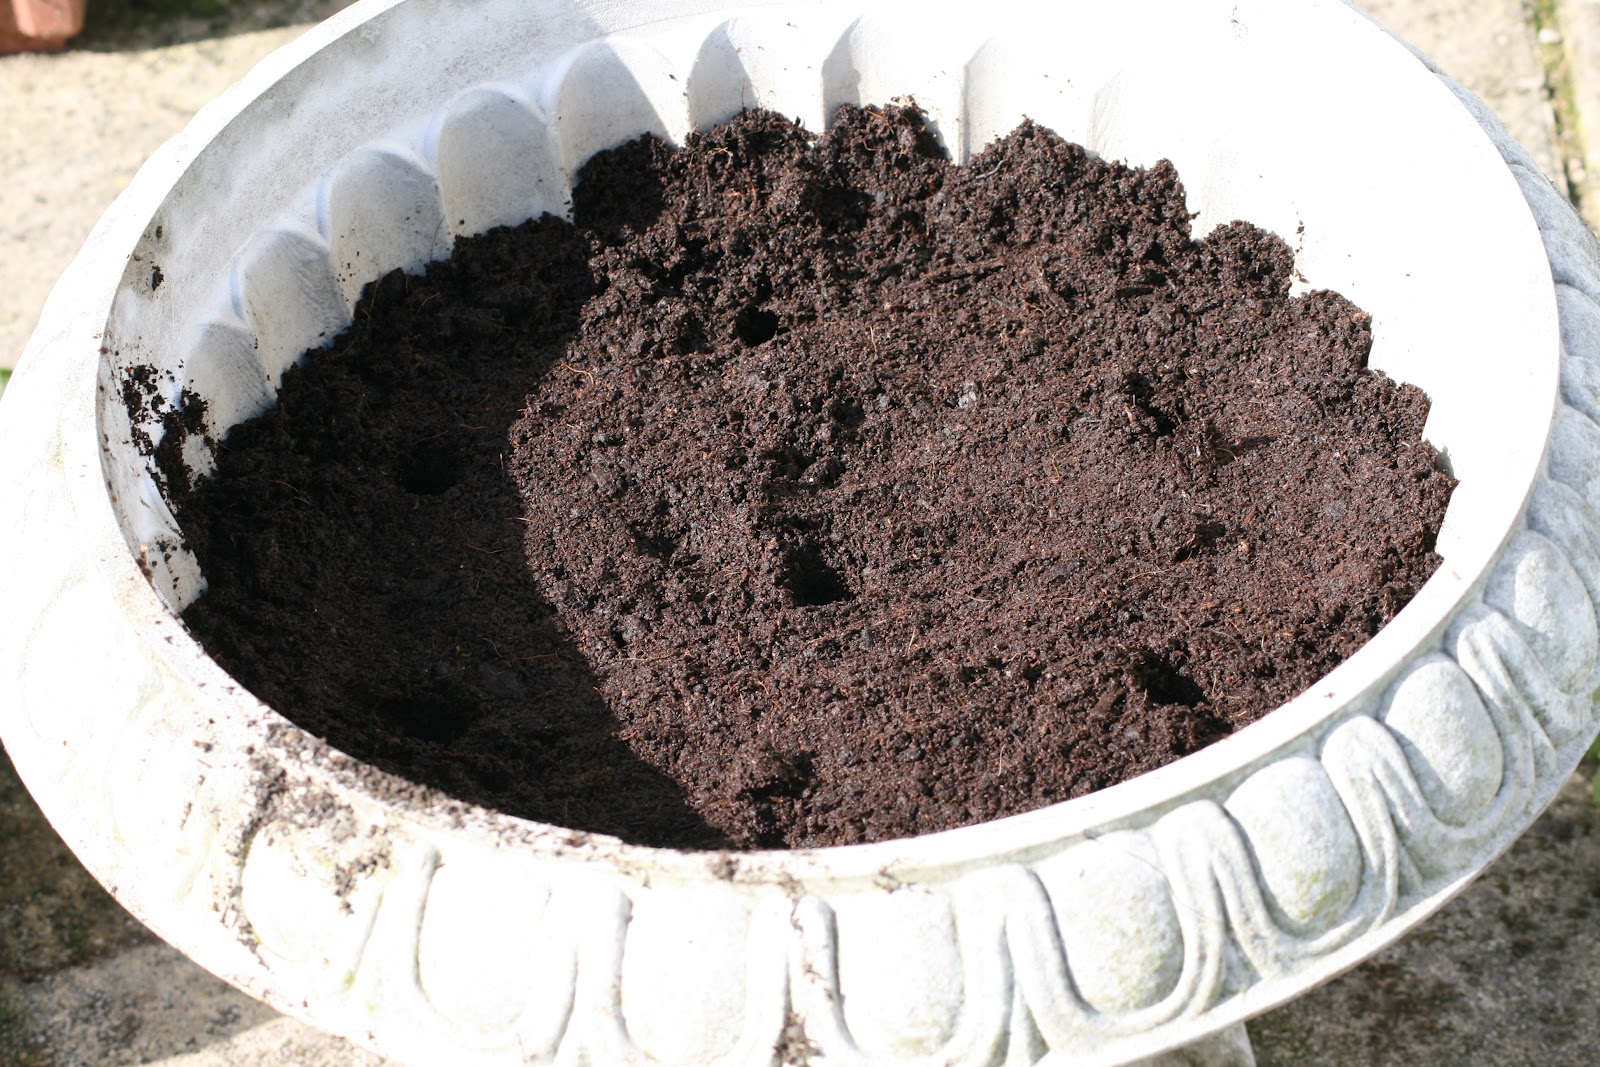
Anyway, following on from my so-recently learned lesson my first task was to bring in and warm up some compost.

The five three inch plant pots brought in and filled with compost and sat next to the radiator, alongside the Carrots and Parsnips and Geranium seedlings. This surely is final proof that yes, I do learn from my mistakes.

I have never bought tubers before and this is the bag which they came in; it was a very lightweight material and had lots of holes in it to keep the tubers dry and aerated.

This is a Begonia tuber. Yes, I know what it looks like but trust me; it is. I am holding it "hollow side up" which, apparently, is the way you plant them also.

The method of planting which the instruction leaflet said (yes, I know, I read the instructions... How can I ever look my dad in the eye again!) said to put it on the compost hollow side up, carefully push under the surface, and water thoroughly, making sure however to not let water pool in the hollow. So that is what I did...

... I didn't get any pictures of that part of the process so you will just have to trust me when I tell you that this is a picture of the previously shown pots, post compost warming, with a tuber in each one, carefully pushed in and watered without allowing water to collect, yes you guessed it, in the hollow on the tuber.

Bear in mind that I brought the compost in at about 8am on the Sunday morning and then did this planting at about 11pm so this gives an idea that you can decide to plant something in the morning, and have warm enough compost in the evening, so long as you have your heating on.

Finally a couple of pictures to show that the heating of the compost really does work. This is a picture of two Carrot seedlings still standing up strong and tall and not wilting in the slightest. The mildew appears to have reduced also, though the soil still has some moisture in it. This is, I think, a success so far.

The Geranium seedling is also still looking just as it did prior to re-potting, another successful move operation. I did accidentally scatter some compost on the leaves while moving it but I don't think it will stay on there for long when the plant continues to grow.


Anyway, there you are; some more plants ready to start obsessively watching for progress, and some more proof that yes, you really should be aware of the temperature of your compost when moving seedlings from propagator to medium pot.

Cheers

Monday, 11 February 2013

Repotting the Coriander and Chives

The other day while at a large supermarket we decided to buy some pre-grown coriander (as the self planted is taking a bit to get going) and sage.

I was planning on leaving it in it's shop-container for a few more days until it had settled however yesterday morning when I came downstairs it was starting to look very unhappy and droopy.

Shop bought Chive plant still in it's shop container
The shop bought Chive plant in it's ridiculously tiny pot.

Shop bought coriander plant looking droopy and unhappy
A really unhappy looking Coriander plant. When I saw the root ball of this I really understood why it was so unhappy and why repotting was the best idea

Clean pots ready for new tenants
I have picked out these two pots to transfer the plants into. I picked them because they are large enough to allow the plant to spread it's roots and regain life, but not too large so they can't sit on the window sill next to the back kitchen door so access for use in cooking is still really easy.

A healthy quantity of potting compost in the pot
It is important to fill the pot with compost fully when repotting plants, so the current root ball is well supported in the soil and the plant does not fall over.

The root system of the Chive, demonstrating why re-potting shop bought plants is very important
This is the root system of the Chives. I didn't take a picture of the Coriander but it was worse. This plant cannot be expected to survive long with roots as constricted as this. Time for re-potting has definitely arrived.

Carefully putting the Chive plant into the prepared hole in the potting compost
I have created a hole deep enough to fully enclose the root block of the sage, and am carefully positioning it so I can press in the surrounding soil and ensure the plant stays upright.

The Chive plant well potted and covered with a cloche to ensure successful transference
The final result; a Chive plant with plenty of room to stretch it's roots out and grow.

Coriander and Chive plants re-potted and under cloches in larger pots
Both the Chive and the Coriander in their new recepticles. I have covered them each with a cloche with half open vent to keep the snow and frost off the delicate plants over the next few days, while they recover from the stress of being moved.

In other news, I removed the hay from over the other seedlings and was a bit worried as they all looked slightly the worse for wear; the hay had become quite damp and sodden and was possibly not the best thing to put on top of tiny seedlings. The good news is, on checking them now they are all looking much happier and have even put on a little more height since being uncovered. One more experiment done, one more lesson learned.

Keep planting, keep reading :)

Thursday, 19 July 2012

Planting my second batch of Lettuce

Last night I finally got round to doing something that I have wanted to do for a week or so now; I have planted out a second batch of Lettuce.

The lettuce that is currently growing is just so tasty I am sure I will run out of the two planters that I have currently got.


I have used one of the planters I got from freecycle, filled it partially with the tonne of soil I bought for the potatoes (more on those later) and then topped off with potting compost.


I then made seven little holes with the best manual dibber in the business - my index finger.

Into each of these holes I dropped 1 or 2 seeds from the pack.


Seeds safely covered with compost, I have also put these little plastic covers to stop any birds from stealing the seedlings; lesson learned from my carrot experience.

Fingers crossed I have another really good harvest from this second planting. You can see the other lettuce in the background of the last picture above.

Around the rest of the garden, I have a taken a few pictures of various parts of the garden for progress reports.

Stuttgarter Giant Onions with seed pods on the upright ones; still not harvested ANY of my onions, starting to think I should pull one at least and see what it is like; maybe this weekend?

Karmen Red Onions again with seed pods

Red Sun shallots. These also have seed pods; I wasn't expecting them to do this but then, this is all an adventure of learning.

Casablanca Garlic growing well still. I have tasted this and it tastes of Garlic. Which is good.

The parsnips are growing quite well now...

... unlike the carrot bed which is slowly reverting to wilderness again :( dug with SUCH back breaking effort in the spring, and with zero productivity to show for it; another important lesson.

The potatoes in the background, looking very sorry for themselves, and the cabbage in the foreground, also looking slightly bedraggled and slug-eaten.

Some of the cabbage is doing ok, but a large amount of it has been eaten.

The sweetcorn is still growing, but not shooting up like I expected.

No extra photos of tomatoes for you this week, but I do have TWO small tomatoes growing, and loads more flowers ready to turn into them.

Anyway, I'll be back again soon with another installment.