Showing posts with label heated propagator. Show all posts

Sunday, 3 March 2013

Repotting the Crossley Specials and replacing them in the Heated Propagator

As the Crossley Special chillis have made such outstanding progress I have decided to re-pot them out into bigger pots, making space for some other seeds to be started off in the heated propagator.

The three heated propagator trays with Crossley Special chillis in them.

The larger pots ready for compost putting in them.

A larger pot filled with compost prior to creating the hole.

All the pots with compost in them. An issue (ignored due to impatience) is the compost is very cold having been stored outside, and the seedlings are currently in lovely warm compost having been on the heated propagator.

Look closely and you will see that I have dug a depression into this compost ready to accept the new seedling.

Two seedlings ready for re-potting.

Very carefully moving a seedling by pushing my hand right underneath and avoiding disturbing the root system.

One Crossley Special seedling safely transferred and (fingers firmly crossed) happy in it's new home.

Having freed up these three trays I am now going to plant three more different seeds.

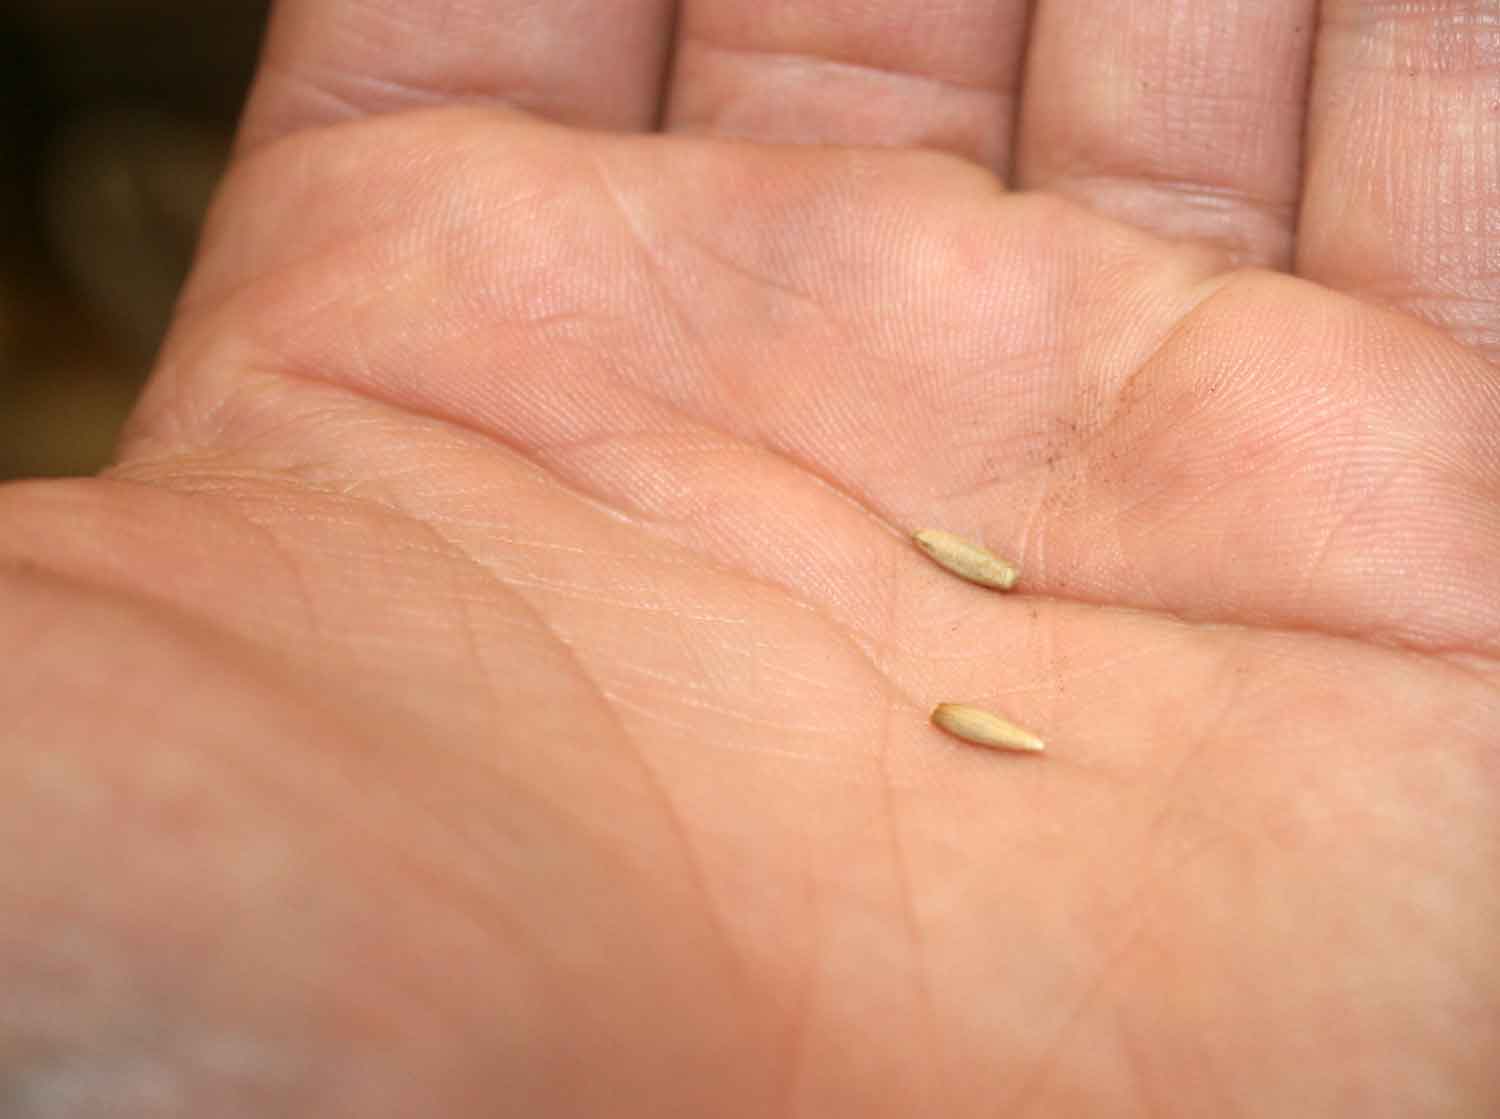
First of all a couple of Birdseye chilli seeds nestling in the palm of my hand.

The Birdseye chilis in the compost before they are covered over.

The Kerela seeds in the compost; I have no idea what will happen with these but hey, I may as well give it a go...

Two Globe Artichoke seeds prior to planting.

The Globe Artichoke seeds in the compost.

I have brought these large pots into the front room which is the warmest room in the house and now I have to hope that they take to their new homes. I am writing this about three hours after planting and sadly I can report right now that they are ALL looking very limp and unhappy. I think this could be because I have not warmed the compost prior to repotting.

I will keep you informed about what happens; Seriously hope I haven't killed them!

Keep planting :)

Edit **** Edit **** Edit **** Edit

I am updating this on the Sunday morning. It looks like the seedlings are going to make it!

This is a sad looking seedling struggling with the change in environment, specifically the heat in the soil.

However, I have come down this morning and...

This Crossley Special has recovered to be upright, though you can see evidence of stress in the tips of the leaves as they are still slightly curled up.

This one, on the other hand, looks completely happy and there is no evidence that it ever drooped or suffered any stress at all in the process.

I am carefully watering these in; I went to sleep last night worrying about them hah :) Fingers crossed they continue this path of surviving and are happy in the next pots.

Cheers

Wednesday, 20 February 2013

Just Chillis

The blog post today is going to be quite short, but really very excited.

This morning I went round before work and took photographs of the chilli seedlings in the heated propagator, and there is some awesome progress to report.

Here come the pictures:

This is the first Ghost Chilli seedling to pop through. First sight of this seedling was only a couple of days ago and it is amazing to me just how quickly the plant grows in the first few days.

Crossley Special chillis in tray one, the slightly limp looking one at the back is the last seedling to show. Yes, I now have six from six of the Crossley Specials up and as seedlings.

Tray two of the Crossley Specials. The large happy looking plant at the front is the first seedling to show and it is looking very strong indeed.

The third tray of Crossley Special Chillis.

I think I will leave it another week or two before I transfer these seedlings into their intermediate size pots. This is an issue, though, because I am out of space in my heated propagator and I have just taken delivery of some Birdseye chilli seeds and a small number of Kerela seeds from a friend at work and both of these seeds will need the extra heat provided by the propagator.

I can sense another shopping trip coming on.

Whoops :)

Anyway, keep growing. Catch you soon.


Sunday, 10 February 2013

New Heated Propagator and planting in it

So, much trailed and with much excitement on my part, my heated propagator arrived last week and yesterday I was able to put it to use.

It has six small trays which sit on top of a longer heated tray which, according to the instructions, raises the temperature of the soil by about 8 degrees.

This is a very long post so without further ado, here goes:

Heated propagator unwrapped and ready for use on the windowsill
The heated propagator unwrapped and ready for use on the windowsill

One of the propagator trays being filled with potting compost
First I filled each tray with potting compost, about 4/5ths full....

One tray filled and sitting on the heater to warm the compost
... and then put the cover on to seal in the moisture and the warmth. Note that the air vent is shut.

All of the trays filled with slowly warming compost
Once I had filled every tray I put them on all the heated base and left them for a couple of hours, to initially warm up the compost which I keep outside so was quite cold.

Ready to sow the ghost chillies with labelling equipment and the tray
Once I was happy that some heat was in the soil I got ready for planting. This is the Ghost Chillies ready for planting. The labels are actually from a jam set but will do just fine.

Ghost chilli seeds planted and ready for covering over
The ghost chilli seeds planted into very shallow dents in the compost, and ready for covering with a dab of compost.

Ghost chilli planted and covered and with the lid on the tray
Each pot will be labeled with the plant, and the planting date. This is obviously the ghost chilli pepper which I have just planted.

Crossleys special chilli seeds planted and covered, and spare seeds saved
Next to be planted were three trays of Crossley's Special Chillis. These are the ones which I grew last year. I have no idea if the seeds are still viable but hey, it's worth trying. I have planted two seeds per tray and kept the rest in the sealed box in the picture. Waste not want not and all that.

Fox glove seeds nestling in the palm of my hand
These are foxglove seeds, which as so tiny it's almost incredible that they will grow into such lovely tall flowers. That is the palm of my hand ;)

The foxglove seeds were too small to sow individually so I took the collection in the previous picture and spread them as equally as I could across the compost. You can see the condensation from heating the soil quite clearly in this picture.

Two geranium seeds in the palm of my hand
These are two geranium seeds ready for planting. Seeds are so tiny.

The geranium seeds in 10mm deep dents in the moist compost
Using the same technique as for the chillis I have planted the geranium seeds in shallow dents which I will cover with a few millimetres of compost.

The geranium tray labelled and ready for setting on the warming tray
The geranium tray nicely labelled and ready for putting onto the heated tray part of the propagator.

Echinops Ruthenicus (or Globe Thistle) seeds on the palm of my hand
Last but not least the Echinops Ruthenicus (or Globe Thistle) seeds about to be planted.

One of the Globe Thistle seeds in the soil ready for covering
One of the two Globe Thistle seeds in the soil. I am quite excited by these as I love how thistles look, and they are really good for attracting bees and other pollinators.

The final tray of Echinops Ruthenicus covered and labelled
And the final tray labelled and ready for warming.

All the trays set on the heating element
All of the seed trays placed on top of the heated tray and (hopefully) slowly germinating.

So, there you have it. I have planted four trays of chillis and three trays with different flowering plants in them.

Fingers crossed this works and I get some good germination from all these seeds. Due to limited space I am not going to be growing that many of each plant this year so if I am unlucky I could end up with very little happening.

Finally in this post, I'm a little concerned that the potting material in the coriander pot is rubbish as the plant, which has grown well, is starting to look a little limp. I think I may have to do something about that and put them into a new container or two, with the better quality compost designed for helping seedlings get going.

Thanks for reading, hope you enjoyed, and come back again soon.